Showing posts with label bottles. Show all posts

Wednesday, October 23, 2013

Bottle brushes

I know I went into great detail in my post about the microwave sterilizer, but I’m sort of a germ nut.  So, here’s how my process sort of went for cleaning bottles and nipples:

1    1.  First use a sponge brush on the bottles and nipples to clean them out.
      2.  Wash in dishwasher (use sterilize cycle, if possible).
      3.  Sterilize items in the microwave sterilizer.
      4.  When possible, allow items to dry inside of the microwave sterilizer or on the drying rack, rather than reintroducing germs by drying with a towel or paper towel.

The initial washing with the sponge brush was because breast milk separates when it sits (either at room temperature or in the fridge).  


Ideally, you can mix all of this fatty thick layer back in with the breast milk before feeding it to a baby, but there are times when there are some milk fat hangers-on that stay on the side of the bottle.  If they’ve been there all day (if, say, daycare didn’t get it out of there when they gave your child a bottle at 9 a.m., and it’s now 5 p.m. when you’re cleaning it), this doesn’t always rinse out all that well with just water – which is where the sponge brush comes in.

Originally we tried one of the really general, cheap sponge brushes that you can get – we used a Munchkin, runs about $3.80 at Target (LINK):


The problem with this is that it has bristles.  Bristles work great on something like, say, a griddle – you can easily access all areas on a griddle with your hand, everything that is on there really requires a lot of elbow grease to remove, and it’s okay if you leave some residue, as it will wash off easily if you put it in the dishwasher (or wash it in the sink).  A bottle isn’t really the same at all, in my opinion – even with my tiny little-kid-sized hands, I can’t get my hands all of the way into most bottles on the market, especially not while holding a rag or brush.  The creamy milk fat that gets stuck in there is gunky and slimy enough that it always seemed to me like the individual bristles of a brush would get most of it, but not all (unless I sat there and spun it around for 5 minutes straight).  I did not feel like it was a good idea to leave any of that residue inside of the bottle, because the sprayer jets in a dishwasher (see step 2) don’t usually spray at just the right angle to get inside of a bottle and clean the entire circumference. 

So, I scrapped the brush with bristles.  Since it was less than $4, I didn’t mind just keeping it as a backup, or to use on wine glasses (were we to ever drink or have people over who didn’t need to use sippy cups).  I did some research, and found this brush by Born Free (LINK):  
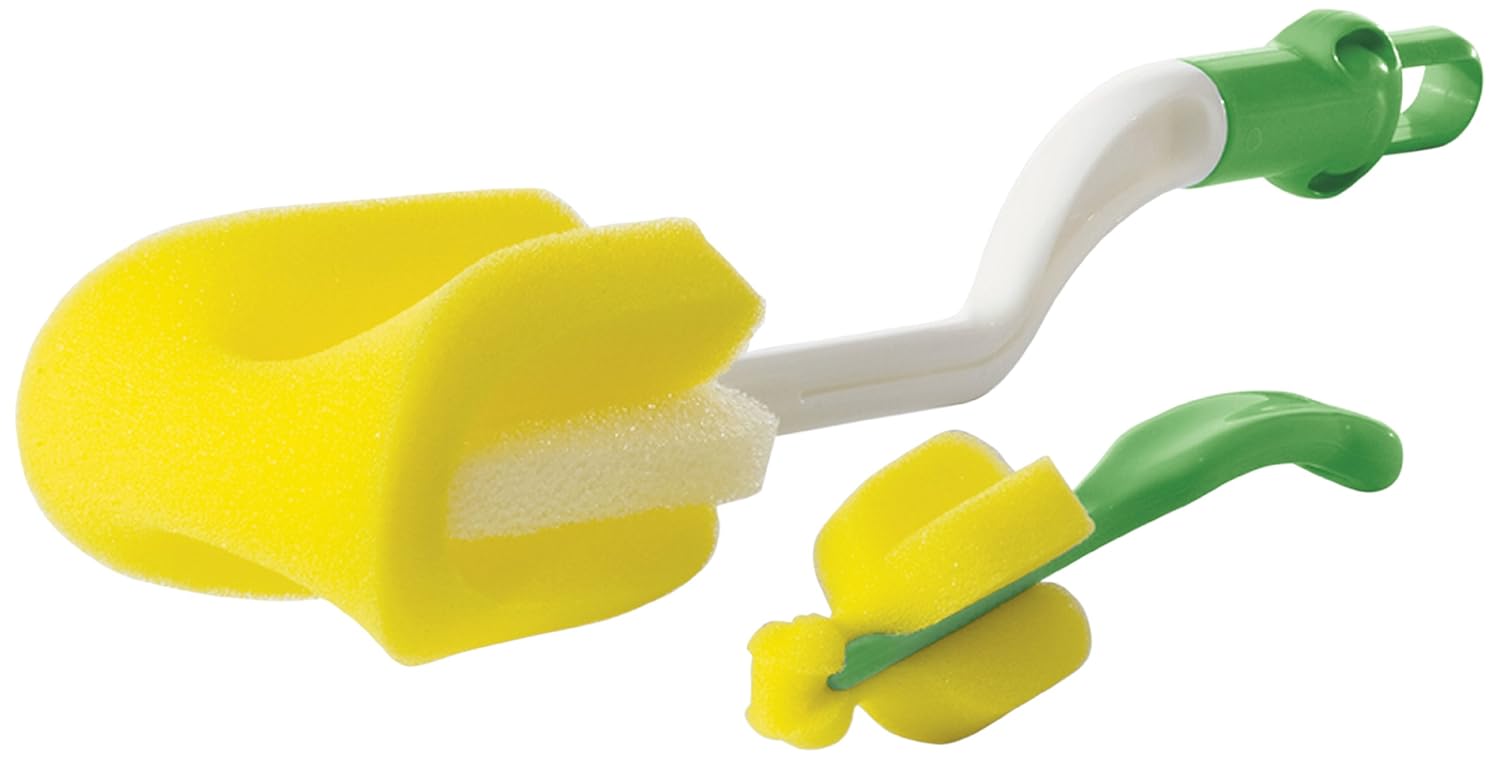


It’s a sponge wrapped around another sponge.  Since there are no individual bristles, this just swept the inside of the bottle as if I were able to get my hands down in there to clean it by hand with a rag.  Since it’s one contiguous piece, it grabs up all of the milk cream.  Rinse the sponge between bottles, and you can easily and quickly clean out several bottles’ worth in just a few seconds. 


If we had fed Pickle spaghetti sauce or something in her bottle, I think the bristle brush would have been more useful.  But since the milk cream is so filmy and slick, the sponge brush was a much, much better purchase, in my opinion.

Wednesday, October 9, 2013

Bottle Drying Racks

As much as I would have loved to have stayed home with the Pickle for forever, and nursed her without ever needing to pump, it wasn't really an option for us.  We wanted to, you know, eat and such.  And feeding her seemed like a pretty cool idea, too.

Since we knew we would have to use some bottles, we are reasonably intelligent people and knew we'd need to wash those bottles.  And, taking our powers of deduction a step further, we knew that we would need something on which to dry the bottles after we washed them.  Our kitchen at our old townhouse was insanely small, so this was going to be a little bit of a problem, as we didn't really have a ton of counter-space or room in the cupboards to accomplish this.

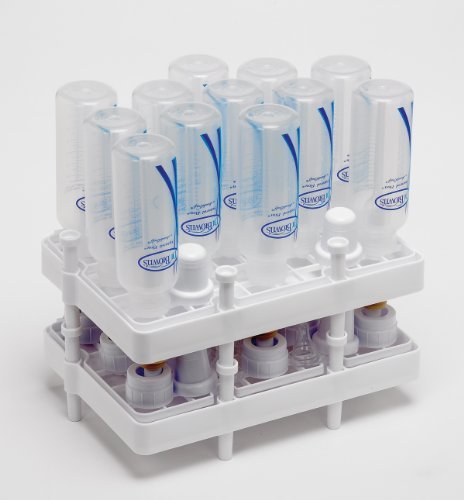
A close girlfriend had strongly, strongly recommend the Dr. Brown's Drying Rack (LINK), which ran about $15 at the time ($13 now on Amazon):


You can tell from there essentially what it does.  It has two racks - the lower shelf is very short, so it's used for the cap and nipple parts of Dr. Brown bottles, and the bottles can be put on the top shelf.  It's not beautiful or much to look at, but it's utilitarian.

We ended up not using Dr. Brown's bottles very often (Pickle didn't have any tummy issues that required their ventilation system, and they were sort of a leaky pain in the butt), so we didn't really need the lower rack a whole bunch.  We'd put our Medela bottle caps on there, but they only fit so-so, and I hated having to lift the top rack off any time we washed bottles.  We ended up mostly just using the top shelf - which was okay, but if we did a huge batch of bottles, we ended up not having a ton of room for both the bottles and the nipples/caps, so we'd be using those peg things and everything else just to try and cram a bunch of stuff on there.  It worked okay, and we used it the whole time Pickle was little, but I just don't think it was an incredibly efficient use of space.  And it was really ONLY useful for bottles, as the little nubs on which the bottles rest aren't really tall enough to support a sippy cup.

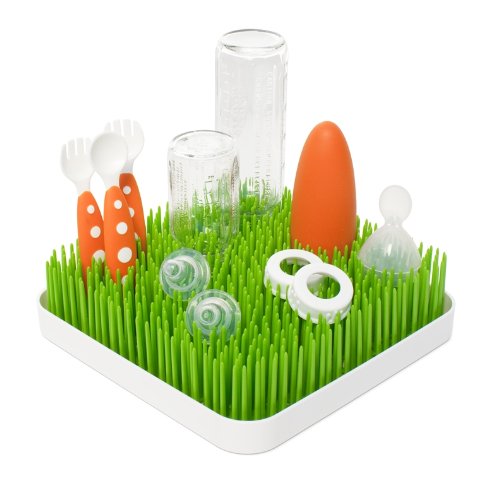
If we have another child, I don't think we'd probably use this drying rack again.  After a lot of looking around at Buy Buy Baby and Babies R Us, I think we'd probably get the Boon Winter Grass Countertop Drying Rack (LINK), which currently runs a few dollars more at $15 on Amazon:


As you can tell from the photo, it's not huge (9.5 inches by 9.5 inches), so you may want to get two plots of grass if you have a lot of bottles.  But I think this idea is a lot more practical than the Dr. Brown's rack.  There's not just a limited number of nub-thingies, there is nothing but nub-thingies on this rack.  You can essentially choose what items you want to put on there, how many you can fit, and where they go.  The nubs are deeper than the shorter ones on the Dr. Brown's rack, so you can put silverware and sippy cups on there.  Additionally, it's much more visually appealing than the Dr. Brown's rack (especially if you have a modern kitchen/house).  It's free of PVCs, BPAs, and phthalates, as well, so it should be very safe to come in contact with items that will go in baby's mouth.

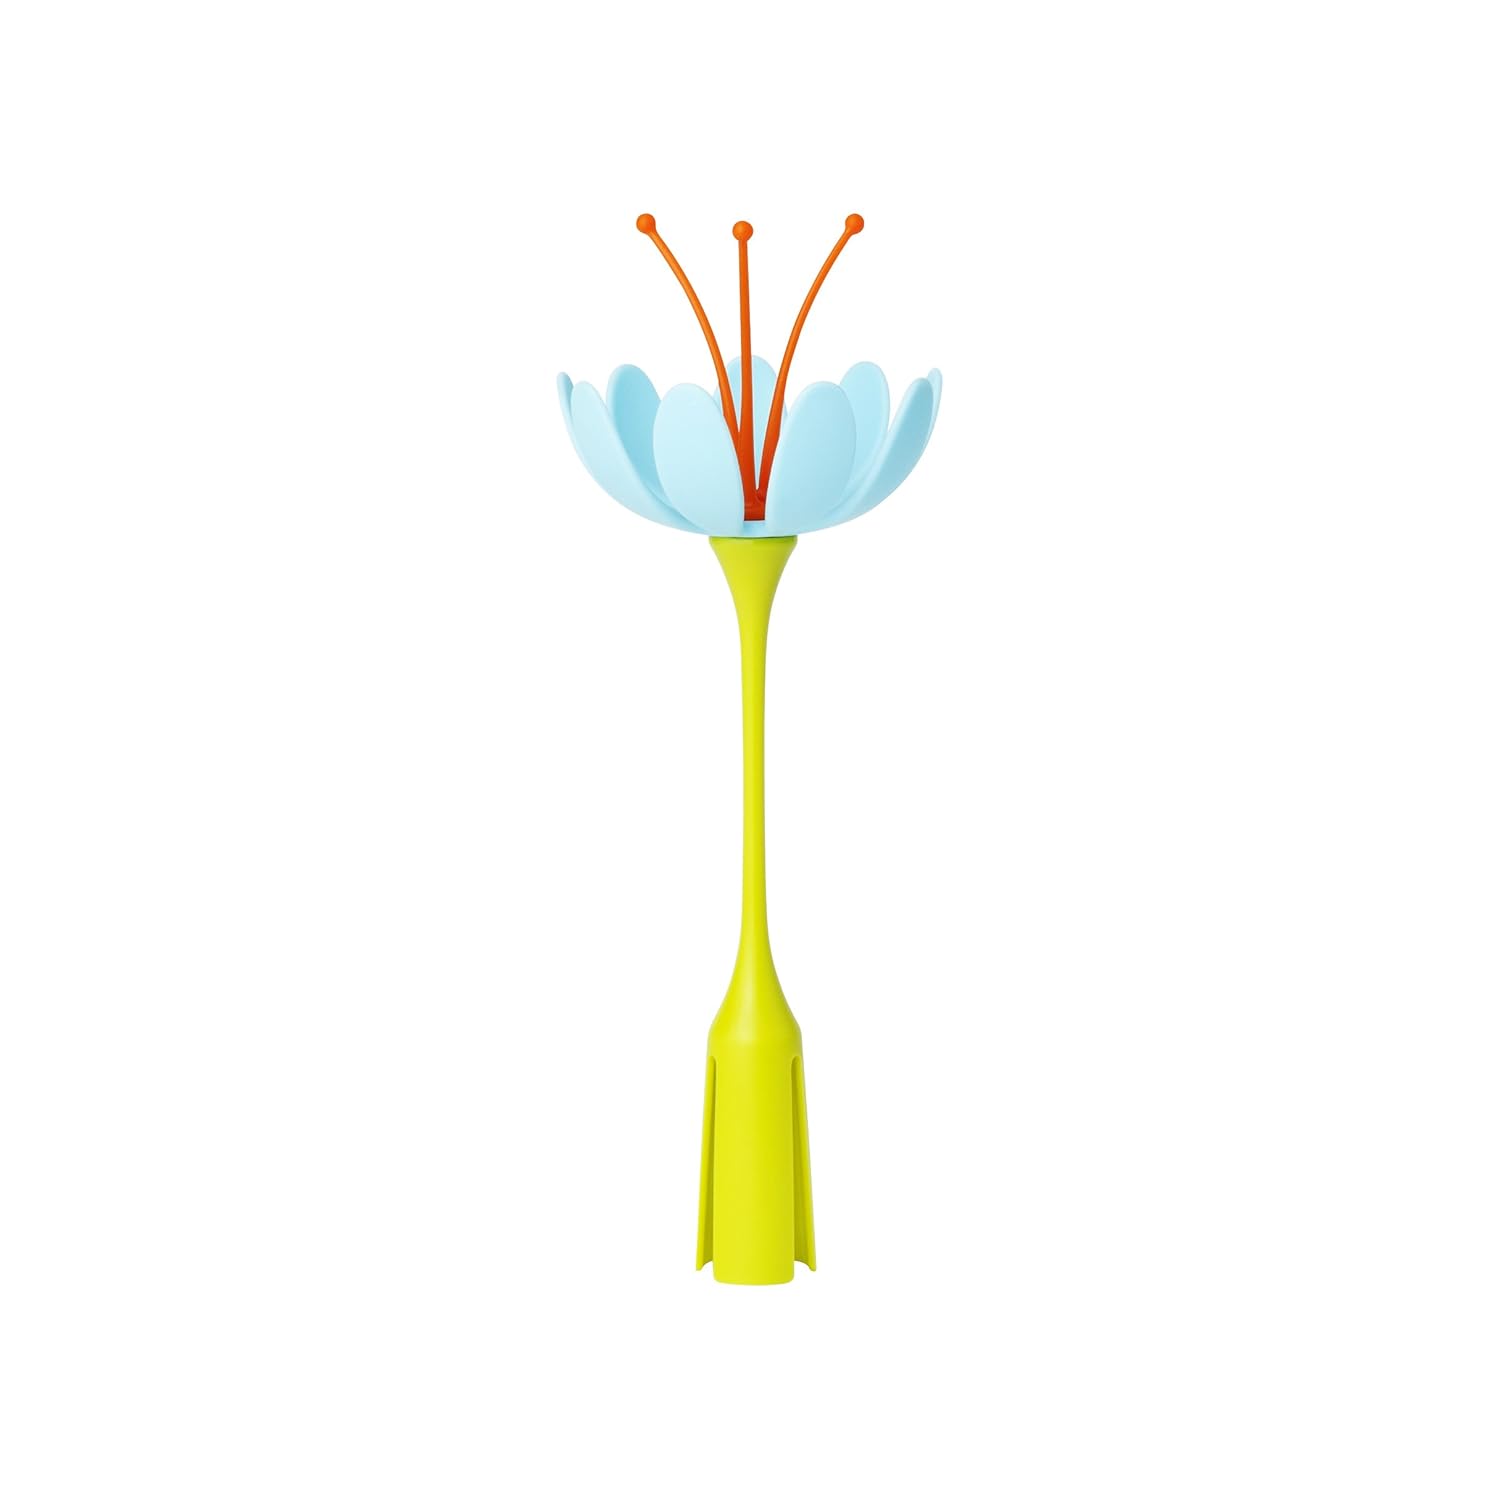
Additionally, you can make a whole little garden with the add-on accessories that Boon makes.  They have flowers and twigs that you can hang in there to increase the number of nipples and caps you can hang, so that they're not taking up as much of the "grass" area.  They both look like this:

I believe you can get both the accessories and the "grass" both come in various colors, as well, so you can make them work with your color scheme.  I like a lot of Boon's stuff, because I think it's fun and creative, and so this is something I'll likely try in the future, given the chance.